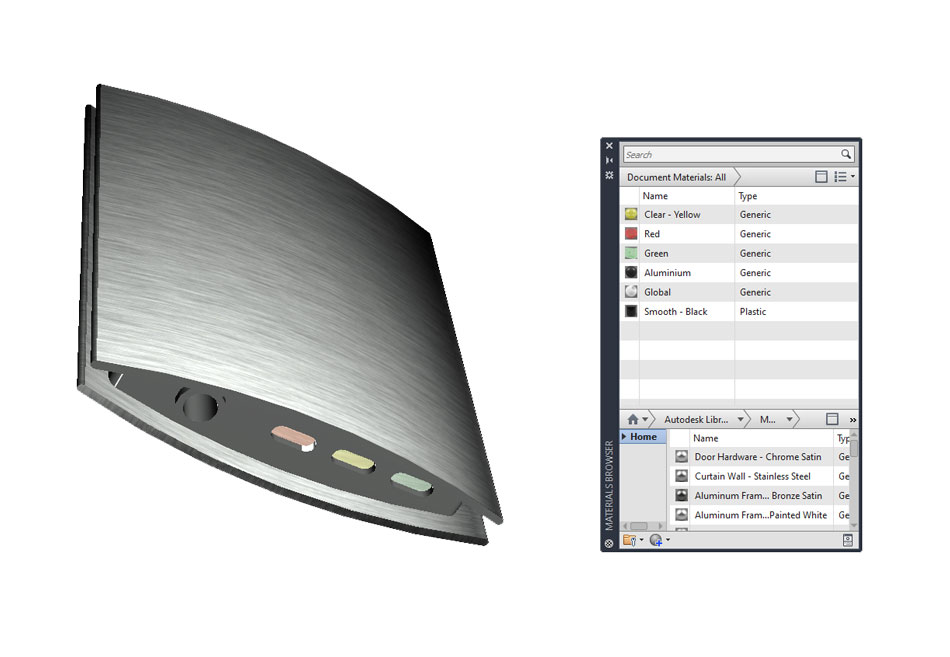
Previously I was tasked with turning my mobile device concepts into 2D CAD drawings. The next step was to turn these into 3D models. Some may assume that a 3D model is superior to a 2D drawing but there are benefits and drawbacks to both and they fulfil different requirements. 2D visualisations presented in an isometric format are more useful for traditional manufacturing, while a 3D model is more suitable for visual presentations or modern manufacturing methods such as additive manufacturing for rapid prototyping. I produced the 3D models in a very time-efficient manner by simply opening my 2D drawing, saving it as a new file after removing the dimensions and additional details, and extruding the different parts into 3D solid objects. This worked much better for some parts than others, but it saved time compared to starting from scratch.
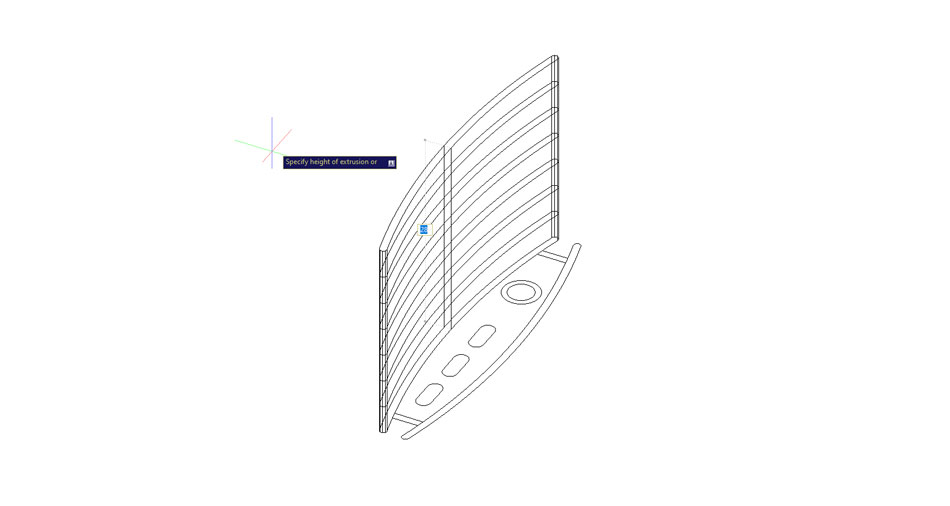
I used this simple extrusion method in conjunction with the 'solid subtract' tool to form the shapes correctly. The solid subtract and press/pull tools were especially useful in hollowing out the shapes, as I wanted to be able to work out how the product would be constructed and how much room there would be for the electronics.
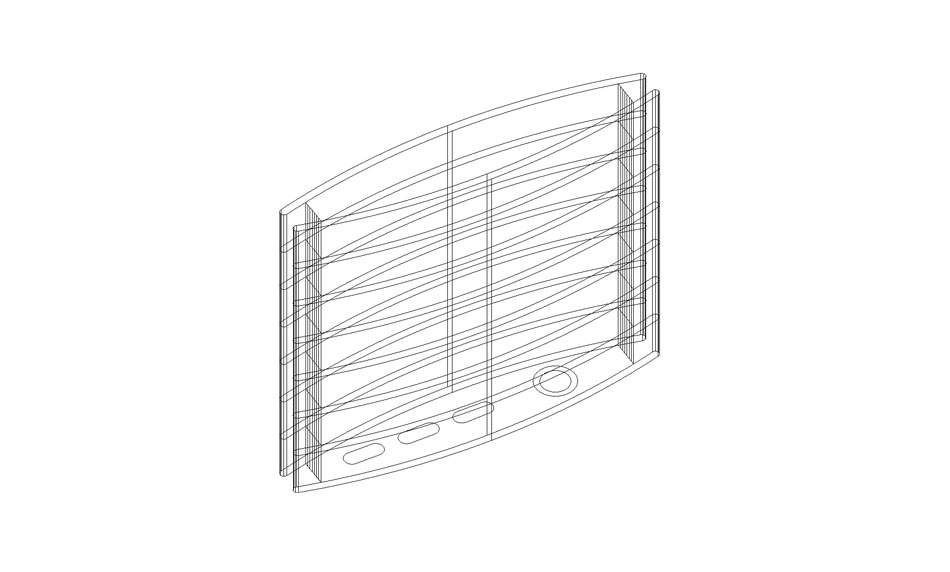
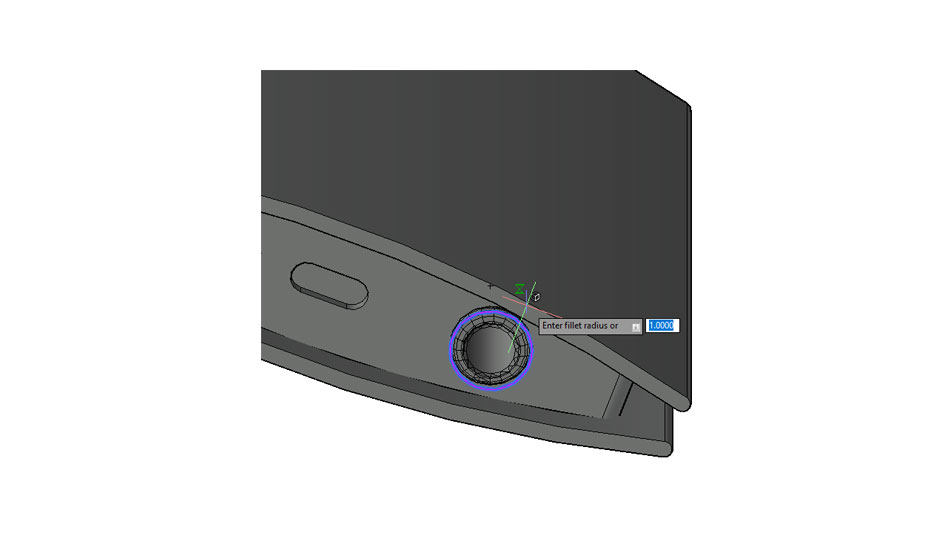
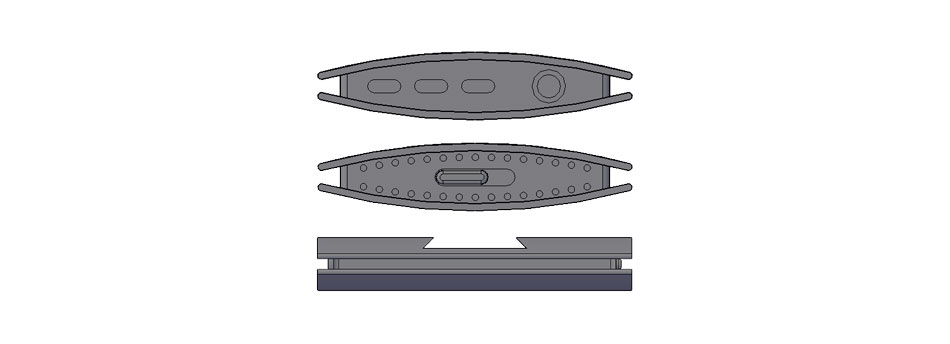
The methods described above only go so far in creating a realistic 3D model from a 2D drawing, since features like blind holes cannot be translated directly from 2D to 3D. Once the basic shape was created in 3D, details such as fillets, chamfers and holes were added. Note that at this point I switched the view to 'shades of gray' as the '2D wireframe' can the geometry of detailed 3D models hard to interpret. It was at this stage that we had decided on a suitable method of attaching belt clips and wrist straps, so I cut a dovetail slot on one side of the 3D model using the 'solid subtract' method. This would allow different attachments to slide and lock into the main unit so it could be worn in different ways.
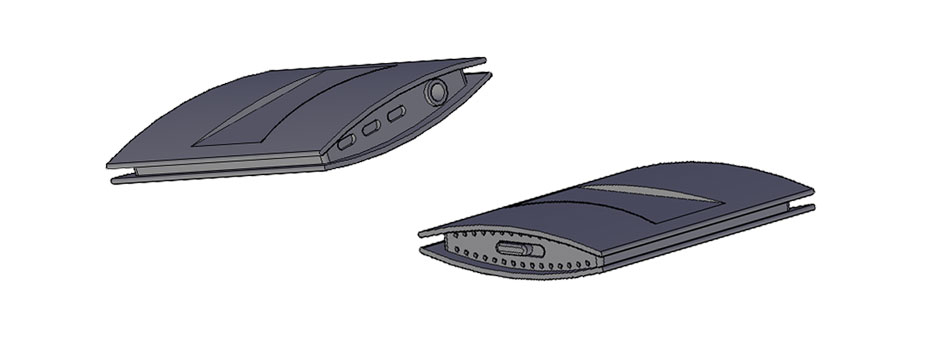
Next I added material properties (colour and texture) to the model for a more realistic look. The main body and clamshell covers would be made from aluminium to keep the weight low while retaining rigidity. I coloured the LED portions by applying tinted clear materials to the LED windows and altering their properties to emit light. High quality renders which show these effects best can be seen here.
