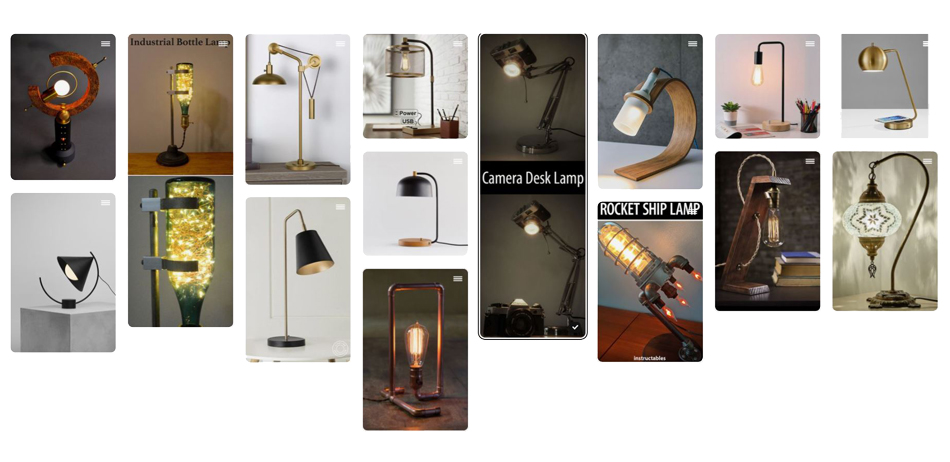
This year we moved on from AutoCAD and started exploring more CAM-oriented software like Fusion 360, which is a great program for rapid prototyping. Some students had not used it before, so we followed some basic tutorials to bring everybody up to roughly the same level. As you might have seen in the Year One section of my portfolio, I have been using Fusion for some time and have come to appreciate the ease and speed in which a competent operator can make very professional-looking 3D renders. One of the tutorials was a step-by-step build of a desk lamp, which gave students an introduction to creating articulated joints between components. I followed on from this exercise by creating a desk lamp of my own design. I first put together a mood board for inspiration which can be seen below, courtesy of Pinterest.
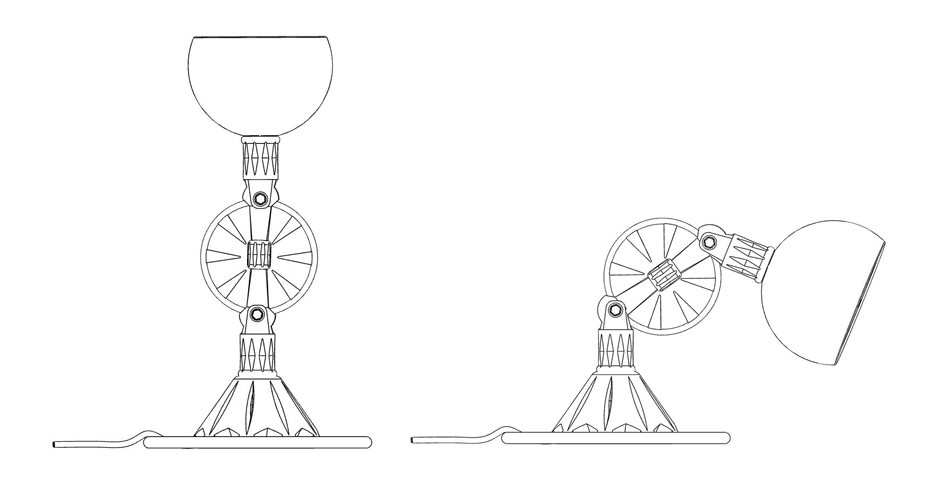
Typically, I would sketch some designs well before opening any CAD software, but I thought that a good challenge would be to start drawing on Fusion ad lib to see what I could conjure up using the tools available. A theme that I developed was to start with simple shapes such as cones and cylinders and then embellish them with ridges and make various cuts to create a unique look that could perhaps be described as retro or vintage science-fiction. The lamp was made from 9 separate components. These components were carefully dimensioned so they could be positioned together with moving joints. The image below shows the range of travel that the arm and lampshade have. This assembly can also rotate 360 degrees on its base.
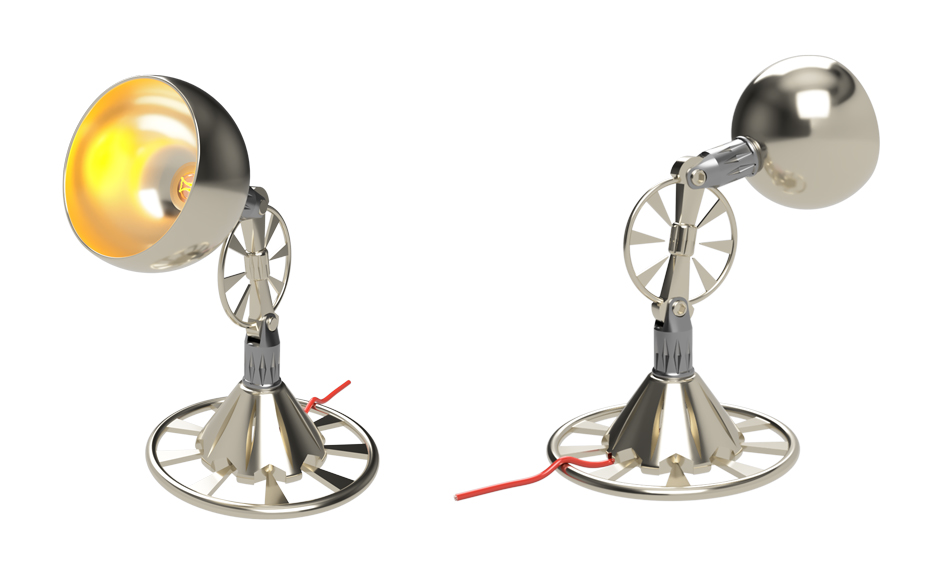
My favourite thing about Fusion 360 is that you can create near-photorealistic renders with a very minimal knowledge of the software and without messing around with hundreds of settings. I applied two different metals to the various parts of the lamp to give a subtle two-tone effect. The element in the bulb was given a high light-emissive value in the material settings so it produced radiated light like it would in real life. This made the renders take much longer to process as the program had to calculate and display this light reflecting of all the other surfaces of the model. A selection of renders can be seen below.
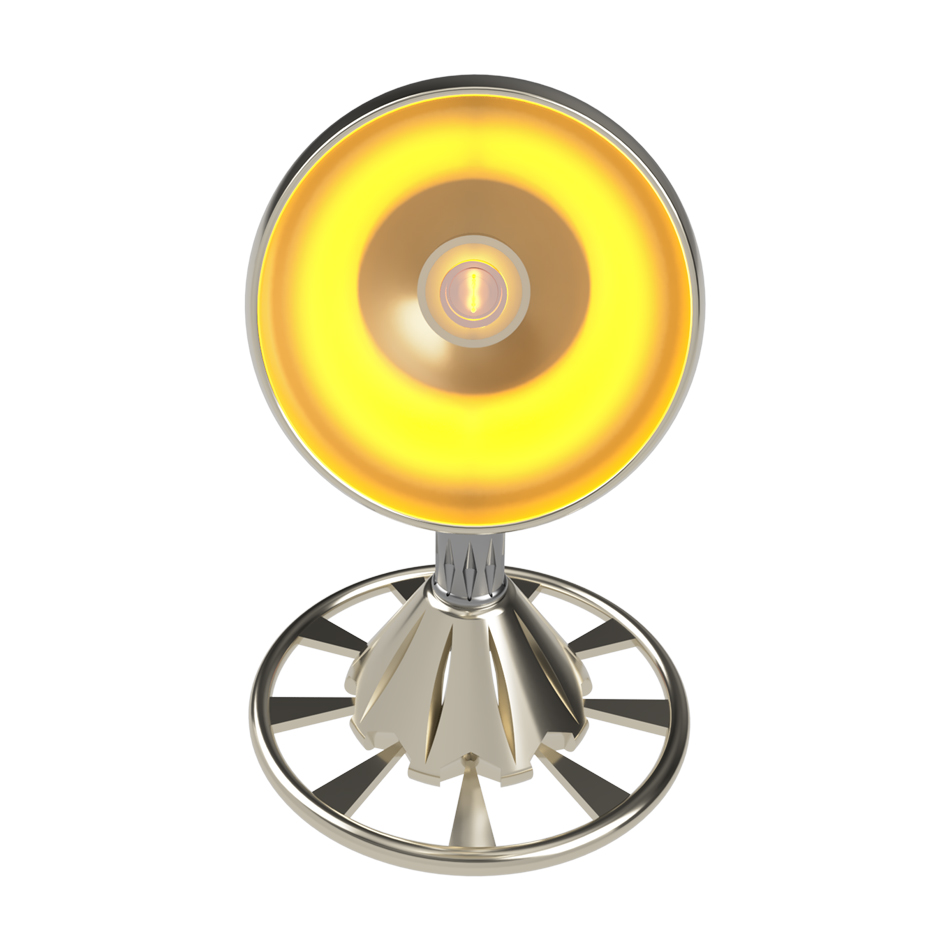
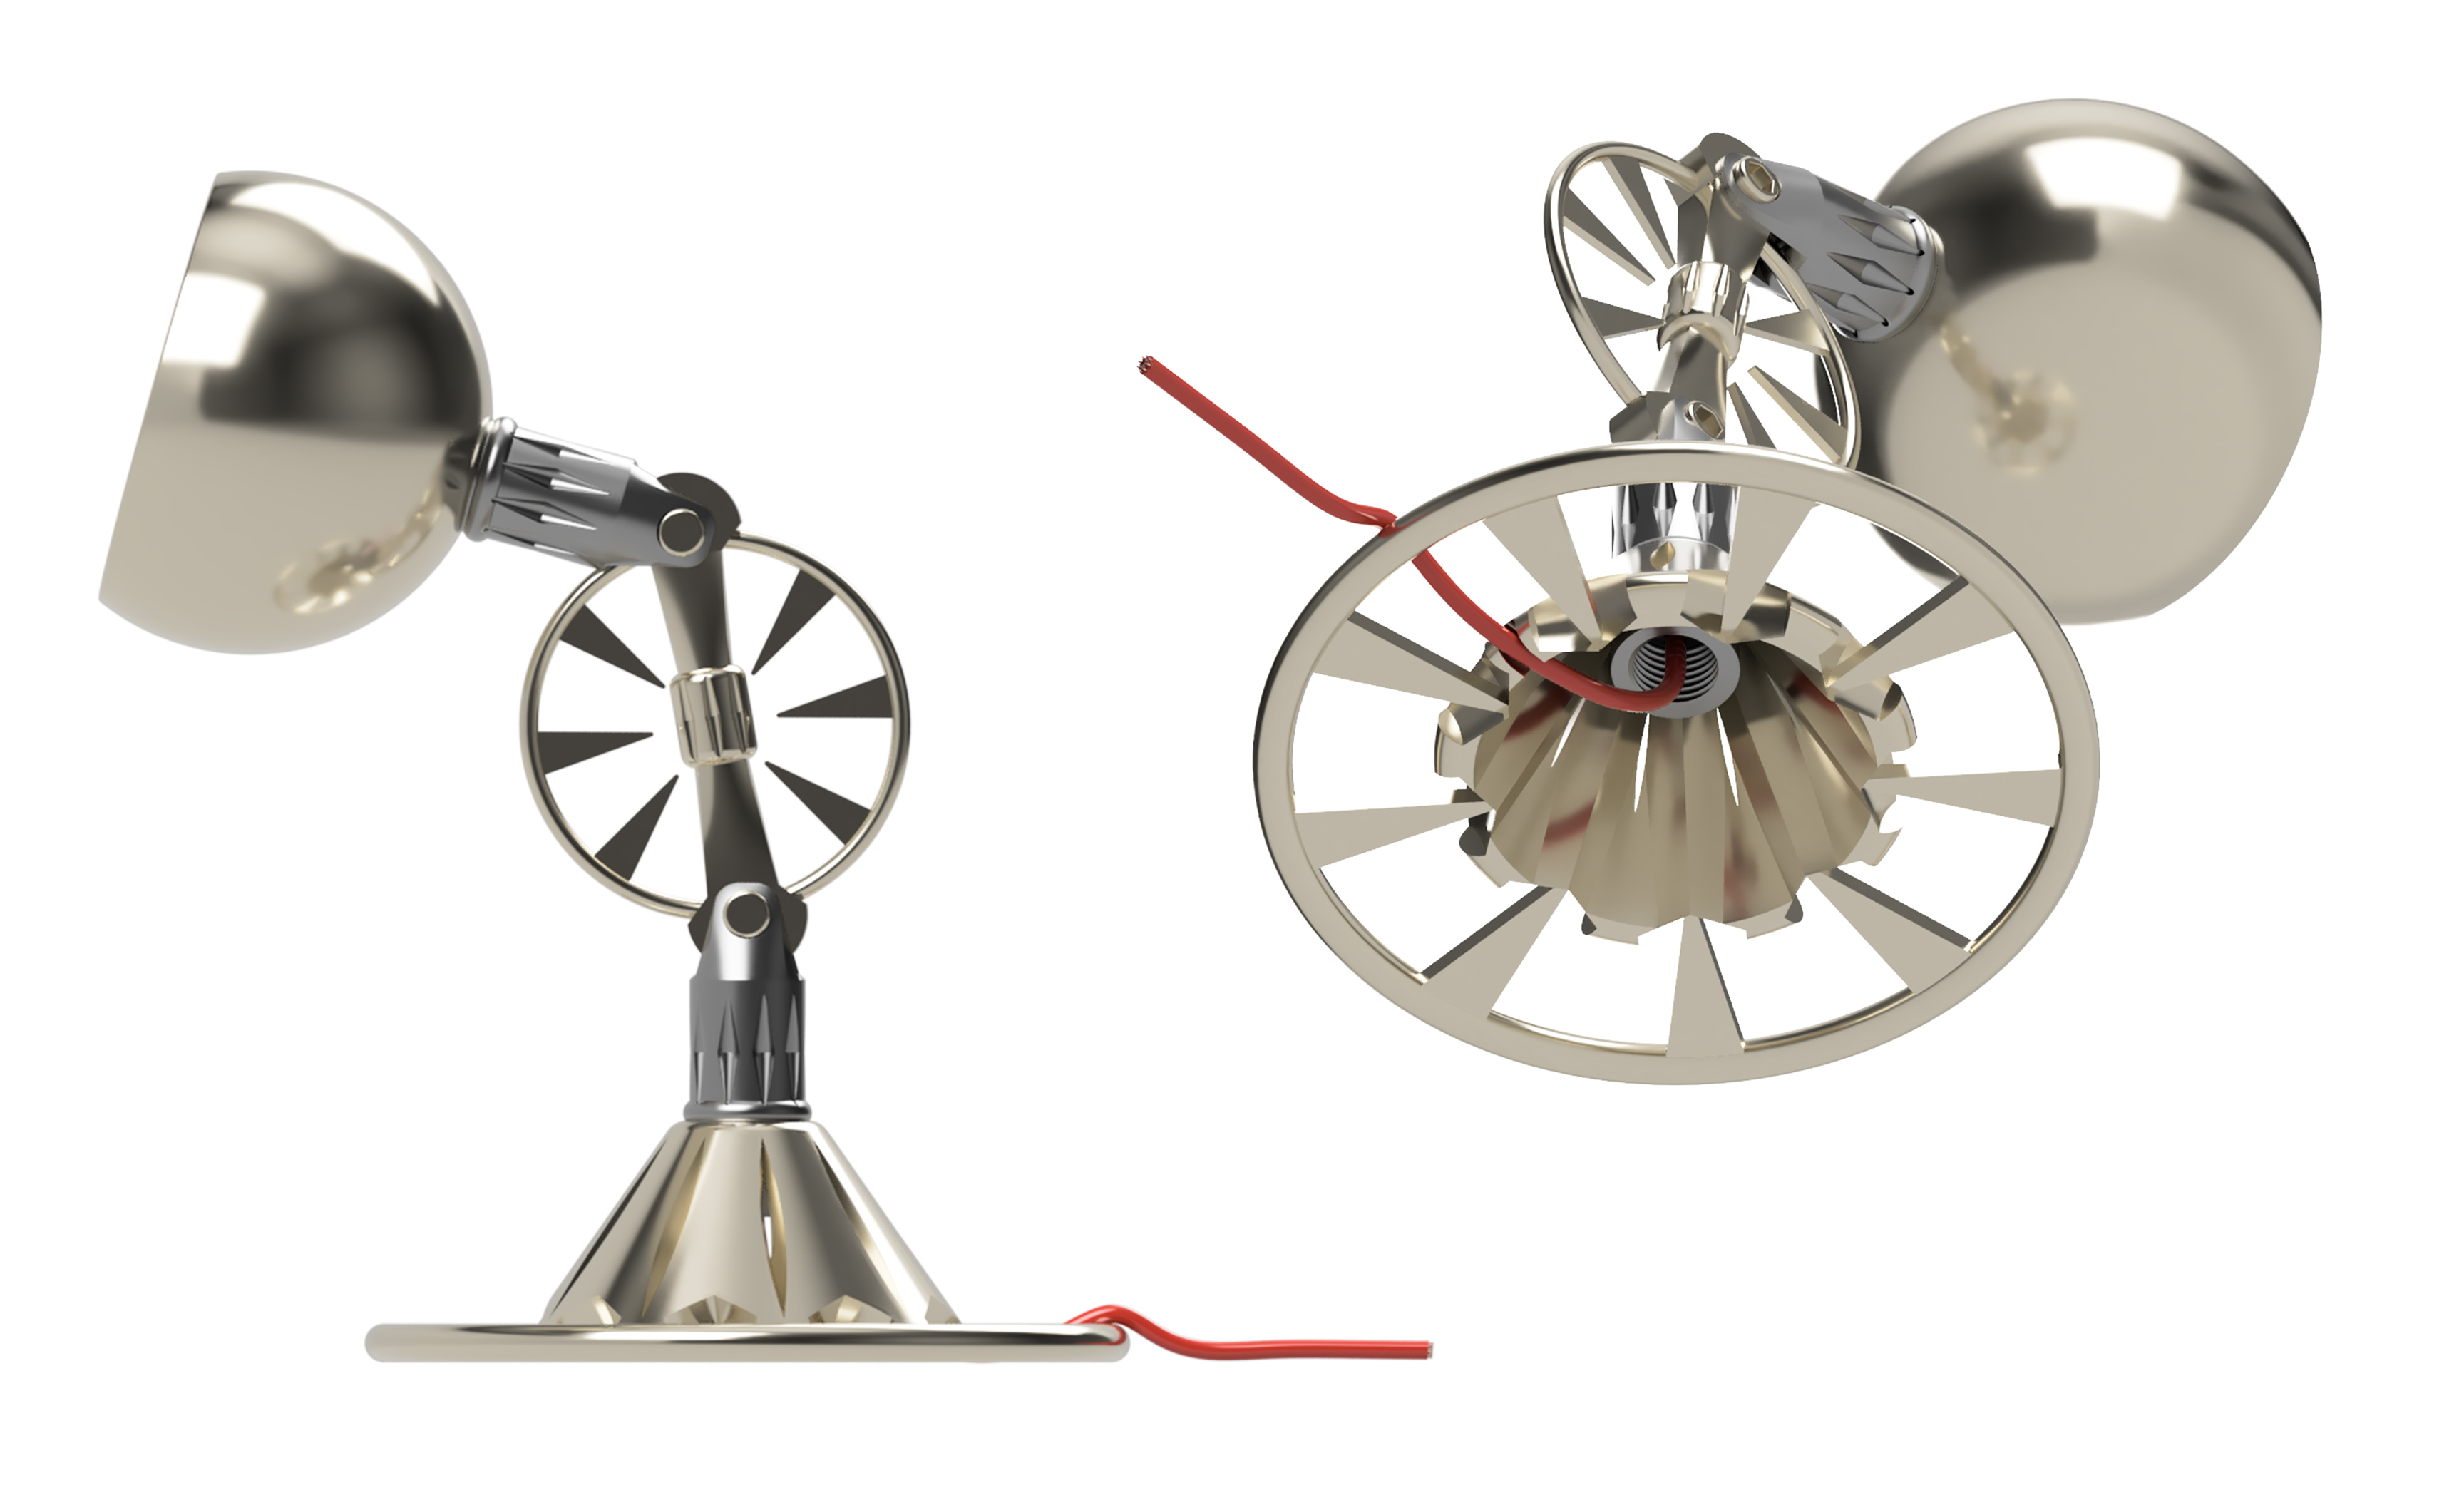
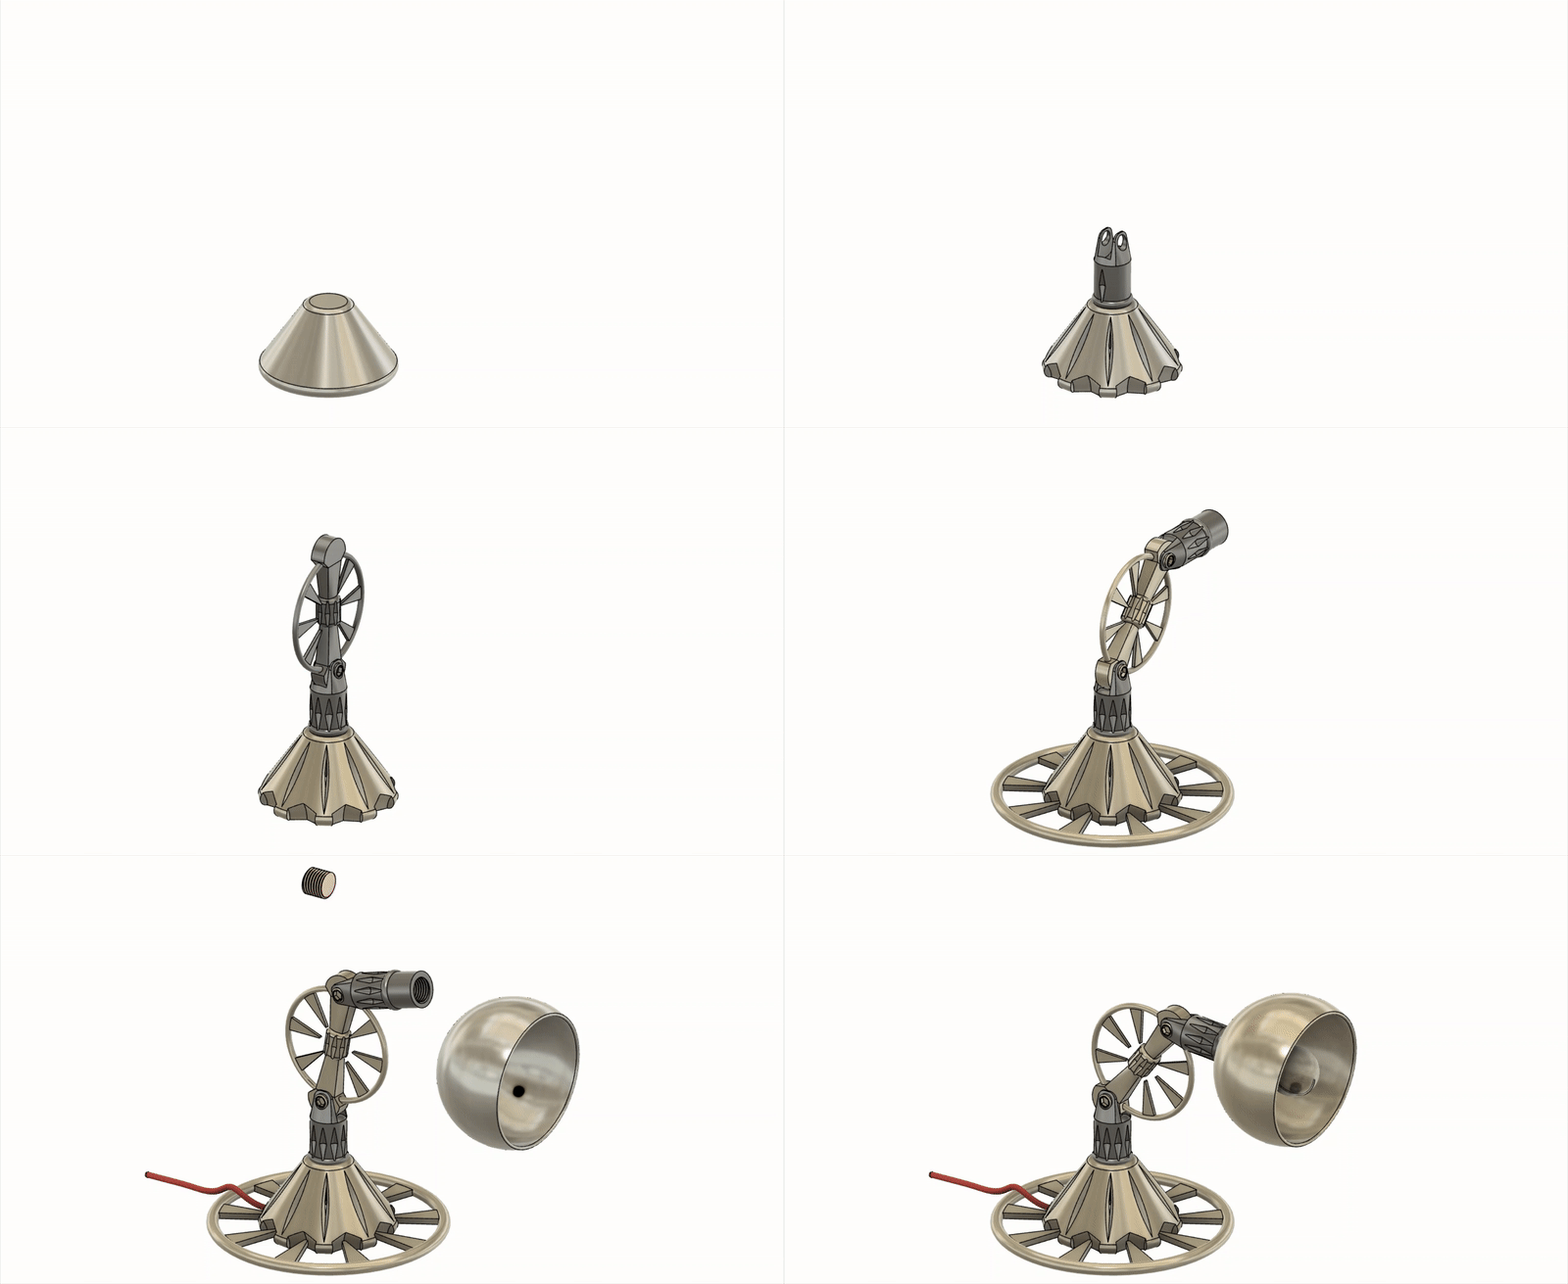
Next, I created an exploded view animation showing how the various parts fit together. This was an element of Fusion 360 that I had not used before, so the tutorial was very helpful, and I was pleased that I had learned a new skill despite being experienced with the software already. A GIF of this animation can be seen below.
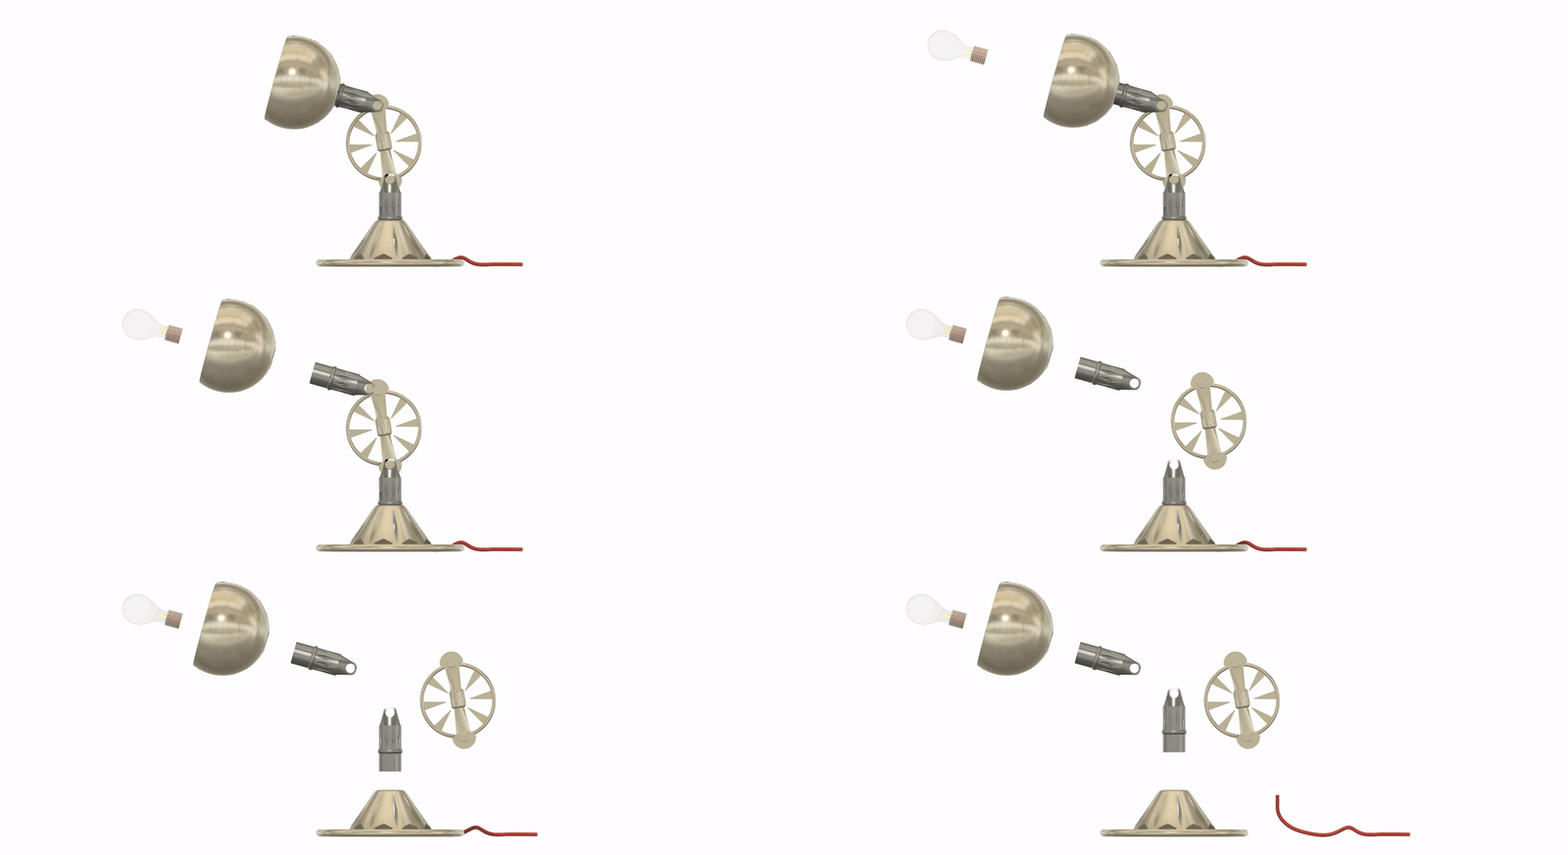
Below you can see a screen recording of the complete build process.
